Table of Contents
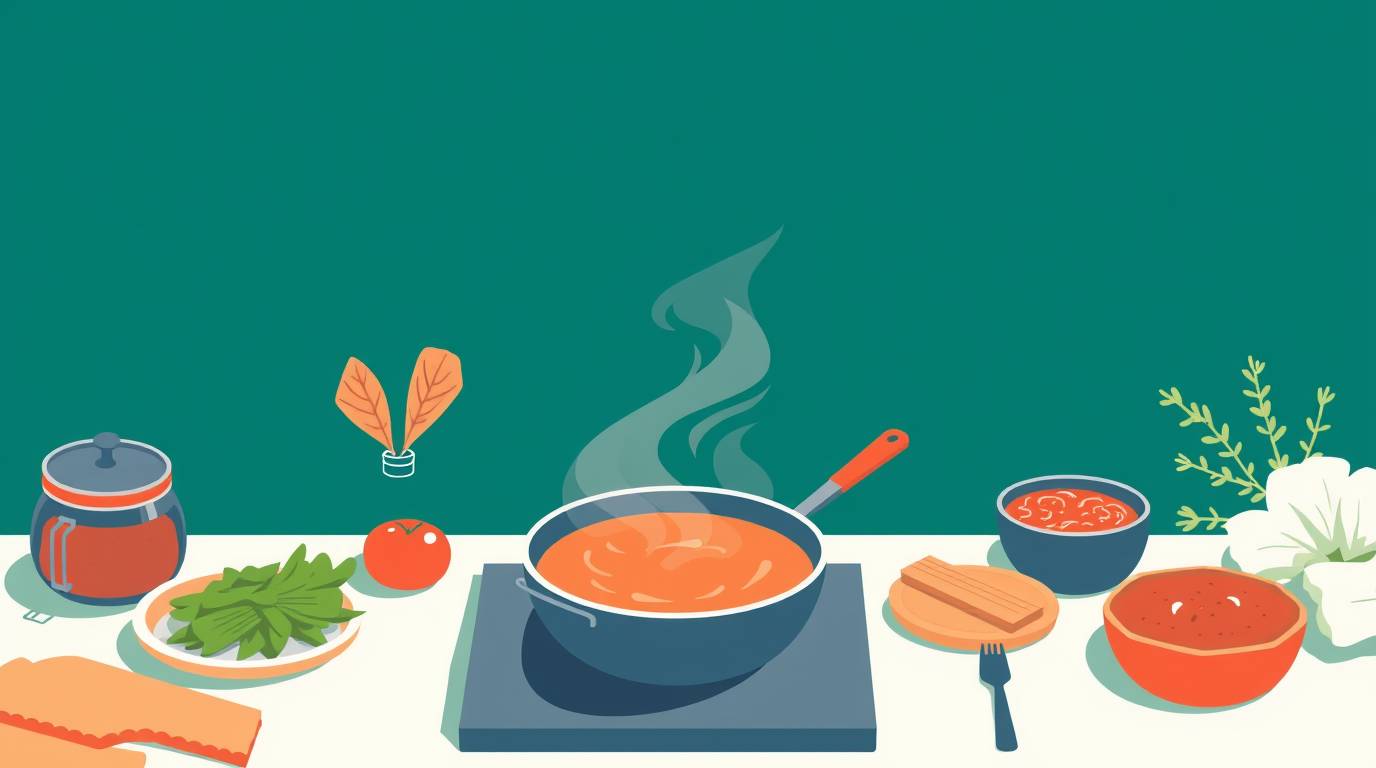
Introduction: Why Knife Skills Matter
Ever watched a professional chef effortlessly dice an onion in seconds or transform a carrot into perfect matchsticks with mesmerizing precision? It's not magic—it's technique. And here's the good news: with practice, you can develop these same skills.
Good knife skills aren't just about looking impressive. They transform your entire cooking experience by:
- Saving time: Efficient cutting techniques dramatically reduce prep time
- Ensuring even cooking: Uniformly cut ingredients cook at the same rate
- Improving safety: Proper technique reduces the risk of cuts and injuries
- Enhancing presentation: Professional-looking cuts make your food look better
- Boosting confidence: Mastering knife skills builds overall cooking confidence
- Making cooking enjoyable: Reducing frustration makes cooking more fun
Think about it: chopping, slicing, and dicing are among the most common tasks in cooking. Most recipes begin with some form of knife work. When these fundamental skills feel awkward or time-consuming, cooking becomes a chore rather than a pleasure.
In this comprehensive guide, we'll break down professional cutting techniques into clear, manageable steps. From basic knife grips to specific cutting methods for different ingredients, you'll learn the essential skills that form the foundation of effective cooking.
Whether you're a beginner who's intimidated by sharp blades or an intermediate cook looking to refine your technique, this guide will help you develop the knife skills that professional chefs use every day. Ready to start cutting like a pro? Let's dive in!
The Foundation: Choosing and Caring for Your Knives
Before discussing cutting techniques, let's talk about the tools themselves. Your knife is the most important tool in your kitchen, and understanding what to look for and how to maintain it is essential.
The Only Three Knives You Really Need
Forget those massive knife blocks with 12+ knives. Most professional chefs rely primarily on these three workhorses:
1. Chef's Knife (8-10 inch)
- Purpose: Your all-purpose knife for 90% of kitchen tasks
- Best for: Chopping vegetables, slicing, dicing, mincing
- What to look for: Comfortable grip, balanced weight, high-carbon stainless steel
- Tip: The 8-inch size works best for most home cooks; larger hands may prefer 10-inch
2. Paring Knife (3-4 inch)
- Purpose: Detail work and in-hand cutting
- Best for: Peeling, trimming, detailed cutting, deveining shrimp
- What to look for: Lightweight, maneuverable, comfortable for precision work
- Tip: Should feel like an extension of your hand for delicate tasks
3. Serrated Bread Knife (8-10 inch)
- Purpose: Cutting through foods with tough exteriors and soft interiors
- Best for: Bread, tomatoes, cakes, melons
- What to look for: Long blade, medium-sized teeth, comfortable handle
- Tip: Longer blades make it easier to slice through wider loaves in one motion
Budget Considerations
You don't need to spend hundreds on a knife. Here's what to know:
Entry-level yet reliable ($30-50 range):
- Victorinox Fibrox Chef's Knife
- Mercer Culinary Genesis
- Kiwi (extremely budget-friendly but require more frequent sharpening)
Mid-range excellence ($80-120 range):
- Wüsthof Pro
- Zwilling J.A. Henckels Twin Signature
- Global G-2
Investment pieces ($150+ range):
- Mac Professional
- Shun Classic
- Wüsthof Classic
Remember: A $40 knife that's properly maintained will outperform a $200 knife that's neglected.
Essential Knife Care
Proper maintenance extends knife life and performance:
Daily care:
- Hand wash only (never dishwasher)
- Dry immediately after washing
- Store in knife block, on magnetic strip, or with edge guards
Edge maintenance:
-
Honing: Use a honing steel before each use or weekly
- Purpose: Realigns the edge rather than removing material
- Technique: Hold at 20° angle, draw knife down and across steel
-
Sharpening: Every 3-6 months or when honing doesn't help
- Options: Whetstones (most control), pull-through sharpeners (convenient), professional sharpening services (easiest)
Cutting surface:
- Always use wood, bamboo, or plastic cutting boards
- Never cut on glass, stone, or metal surfaces
- Replace warped or deeply grooved boards that can harbor bacteria
For more detailed guidance on selecting and maintaining your knives, check out our kitchen knife buying guide.
Safety First: Proper Knife Handling
Before learning cutting techniques, let's establish essential safety practices that professional chefs follow religiously.
The "Claw" Technique
The most important safety skill is protecting your non-knife hand:
- Curl your fingertips under, creating a "bear claw" shape
- Use your knuckles as a guide for the knife
- Keep thumb tucked behind fingers
- Rest the side of the knife blade against your knuckles
This technique creates a barrier between the knife edge and your fingertips. With practice, it becomes second nature and significantly reduces the risk of cuts.
Movement Fundamentals
Proper knife handling reduces both injury risk and fatigue:
Stable stance:
- Stand with feet shoulder-width apart
- Position yourself squarely in front of cutting board
- Avoid reaching or stretching
Board placement:
- Position cutting board at belly-button height
- Place damp towel underneath to prevent slipping
- Arrange work area so you don't need to move around while holding knife
Knife awareness:
- Communicate when passing a knife ("knife coming through")
- Pass handle-first or place on counter for others to pick up
- Never try to catch a falling knife (step back and let it fall)
- Always cut away from your body, never toward
When Things Go Wrong: Cut First Aid
Even pros occasionally cut themselves. Know what to do:
For minor cuts:
- Rinse under cold water
- Apply pressure with clean towel
- Apply bandage when bleeding stops
When to seek medical attention:
- Deep cuts that won't stop bleeding after 15 minutes of pressure
- Cuts with jagged edges or that gape open
- Cuts that expose yellow fat tissue or white tendon
- Any cut on a joint that affects movement
Remember: A sharp knife is actually safer than a dull one. Dull knives require more force and are more likely to slip, causing more serious injuries when accidents happen.
The Perfect Grip: How to Hold Your Knife
The foundation of good knife skills is a proper grip. There are two primary grips used by professional chefs, each suited to different tasks.
The Pinch Grip (Handle-Blade Grip)
This is the preferred grip for most cutting tasks:
- Pinch the blade between your thumb and forefinger right where it meets the handle
- Wrap remaining fingers around the handle
- Keep wrist straight and in line with forearm
Benefits:
- Maximum control and precision
- Better balance and less fatigue
- More power with less effort
- Reduced risk of slipping
Best for:
- Most chopping, dicing, and slicing tasks
- Precision work requiring control
- Extended cutting sessions
Common mistakes:
- Gripping too tightly (causes hand fatigue)
- Placing fingers too far forward or back
The Handle Grip
Sometimes called the "hammer grip" or "club grip":
- Wrap all fingers around the handle
- Position index finger against the spine of the blade for guidance
- Keep thumb along the side of the handle
Benefits:
- More force for tough ingredients
- Familiar and comfortable for beginners
- Better for certain cutting motions
Best for:
- Cutting through hard items (squash, melons)
- In-hand cutting with paring knife
- Specific cutting techniques like scoring
Holding Food Safely: The Guide Hand
Your non-knife hand is just as important:
- Create a "claw" with fingers curled under
- Rest fingertips on food with fingernails vertical
- Use knuckles as a guide for the knife blade
- Keep thumb behind fingertips
Progression for beginners:
- Start with obviously curled fingers (may feel exaggerated)
- Practice without cutting, just moving the knife against knuckles
- Gradually increase speed as the motion becomes natural
- Always return to this position if you feel unsure
For visual demonstrations of these grips, check out our knife grip video tutorial.
Essential Cutting Techniques Explained
Now let's explore the fundamental cutting techniques that professional chefs use. Mastering these basic movements will allow you to handle most recipe requirements with confidence.
The Slice
The most basic technique, but with important nuances:
Technique:
- Start with pinch grip and claw guide hand
- Position knife tip on cutting board
- Draw knife backward slightly to initiate cut
- Push forward and down in one smooth motion
- Use the length of the blade, not just the middle
Variations:
- Thin slice: Angle blade slightly for delicate cuts
- Thick slice: More vertical blade position for heartier cuts
- Bias slice: Cut at 45° angle to create more surface area
Best for:
- Cucumbers, zucchini, cooked meats
- Creating flat surfaces on round foods
- Even cooking of larger ingredients
The Rock Chop
The rhythmic chopping motion you see professional chefs use:
Technique:
- Start with pinch grip and tip of knife on board
- Raise handle while keeping tip on board (creates rocking motion)
- Feed food under raised blade with guide hand
- Rock knife down and slightly forward
- Maintain contact between knife tip and board
Key points:
- Wrist stays relatively straight; motion comes from arm
- Knife tip remains in contact with cutting board
- Guide hand moves food into position
Best for:
- Herbs and leafy greens
- Creating a fine mince
- Fast processing of multiple items
The Cross Chop
Useful for creating finer cuts from rough cuts:
Technique:
- Start with ingredients roughly cut
- Hold knife in pinch grip with both hands on handle
- Rock knife back and forth across ingredients
- Periodically gather ingredients back together
- Continue until desired fineness is achieved
Key points:
- Keep knife tip on cutting board
- Use full length of blade
- Non-dominant hand can rest on spine of knife for added control
Best for:
- Mincing garlic and herbs
- Creating very fine vegetable cuts
- Chopping nuts
The Julienne (Matchstick)
Creates uniform thin strips essential for stir-fries and salads:
Technique:
- Square off the ingredient by trimming sides
- Cut into thin slices (1/8 inch)
- Stack slices flat
- Cut across slices to create matchsticks
Key points:
- Uniformity is critical for even cooking
- Create flat surfaces before making precision cuts
- Take your time—speed comes with practice
Best for:
- Carrots, zucchini, peppers
- Stir-fry preparations
- Foundation for brunoise (fine dice)
The Brunoise (Fine Dice)
The hallmark of professional knife skills:
Technique:
- Create julienne cuts first
- Gather matchsticks and align them
- Turn 90 degrees
- Cut across matchsticks to create tiny cubes
Key points:
- Size standard is 1/8 inch cubes
- Requires sharp knife and good technique
- Practice julienne cuts thoroughly before attempting
Best for:
- Aromatic vegetables for soups and sauces
- Garnishes
- Dishes where texture and appearance matter
The Chiffonade
Creates delicate ribbons of leafy herbs and greens:
Technique:
- Stack leaves flat
- Roll tightly like a cigar
- Slice thinly across the roll
- Separate slices into ribbons
Key points:
- Keep roll tight for even cuts
- Use very sharp knife to avoid bruising
- Smaller rolls are easier to control
Best for:
- Basil, mint, spinach
- Decorative garnishes
- Adding herbs to dishes without overwhelming
Vegetable-Specific Cutting Methods
Different vegetables require specialized approaches. Here's how to handle common vegetables efficiently.
Onions
The foundation of countless dishes deserves special attention:
Dicing technique:
- Cut onion in half through root end
- Peel, leaving root intact
- Make horizontal cuts toward root (not through)
- Make vertical cuts from top to root (not through)
- Cross-cut perpendicular to create dice
- Size of dice determined by spacing of cuts
Tips:
- Keep root intact as a natural handle
- Chill onions for 10 minutes before cutting to reduce tears
- Sharpen knife before onion prep (dull knives release more tear-inducing compounds)
Peppers
Efficient pepper preparation eliminates waste:
Method for strips/dice:
- Cut off top and bottom
- Make one vertical cut and unroll pepper into flat sheet
- Remove ribs and seeds
- Cut into strips or dice as needed
Alternative method:
- Cut in half from stem to bottom
- Remove stem, seeds, and ribs
- Cut into desired shape
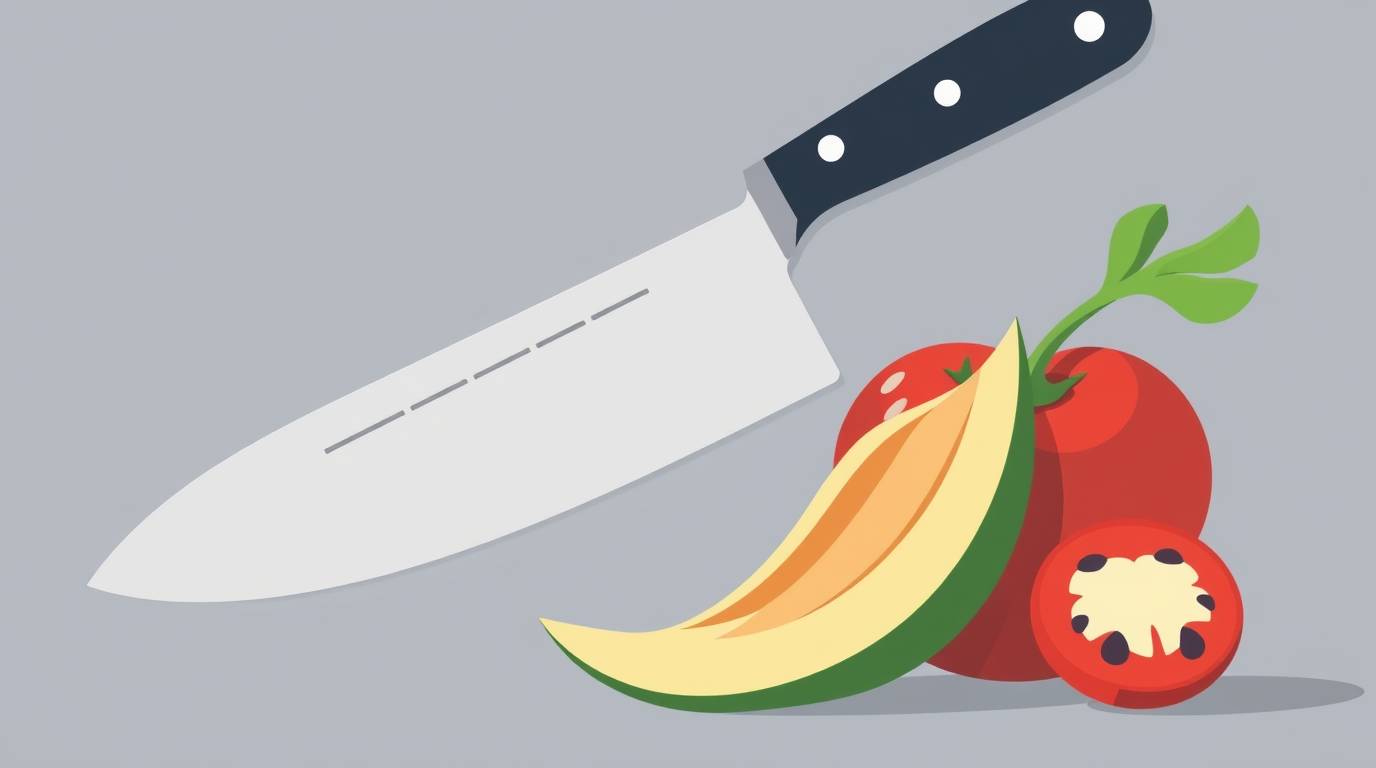
Tomatoes
Tomatoes challenge dull knives—here's how to master them:
Slicing technique:
- Use serrated knife for tomatoes if chef's knife isn't extremely sharp
- Remove core with tip of knife
- Slice with gentle sawing motion
Dicing technique:
- Cut tomato in half through equator (not through stem)
- Gently squeeze to remove seeds (optional)
- Place flat side down
- Slice and then cross-cut for dice
Garlic
Three methods for different applications:
Mincing method:
- Separate clove and remove skin (smash with side of knife to ease peeling)
- Roughly chop
- Add pinch of salt as abrasive
- Use cross-chop technique to mince finely
Slicing method:
- Peel clove
- Slice thinly lengthwise with tip of knife
Garlic paste method:
- Mince garlic
- Sprinkle with salt
- Drag side of knife across garlic at 45° angle, mashing as you go
- Repeat until smooth paste forms
Root Vegetables (Carrots, Potatoes, etc.)
Create flat surfaces for safety and precision:
General technique:
- Cut in half lengthwise to create flat surface
- Place flat side down for stability
- Cut into planks
- Stack planks and cut into sticks
- Cut sticks into dice if needed
Different shapes:
- Rondelle: Coin-shaped slices across the vegetable
- Diagonal: Bias-cut slices for more surface area
- Batonnet: Thick matchsticks (¼ inch)
- Allumette: Thin matchsticks (⅛ inch)
Protein Cutting Skills
Meat, poultry, and fish require specific techniques for best results.
Basic Meat Cutting Principles
Understanding how to approach different cuts:
Cross-grain cutting:
- Identify the direction of muscle fibers (the "grain")
- Position knife perpendicular to grain
- Slice across grain for maximum tenderness
Common mistakes:
- Cutting with grain (results in chewy meat)
- Using sawing motion (creates ragged edges)
- Pressing down too hard (squeezes out juices)
Tips for success:
- Chill meat for 15-30 minutes before cutting for easier slicing
- Use smooth, long strokes with sharp knife
- Let cooked meat rest before slicing
Poultry Breakdown
Basic techniques for chicken (most common):
Breaking down a whole chicken:
- Remove wishbone for easier carving
- Separate leg quarters from body
- Separate drumsticks from thighs at joint
- Remove wings at joint
- Separate breast from backbone
Deboning chicken breast:
- Locate keel bone in center
- Make shallow cut along length of bone
- Use short strokes to scrape meat from bone
- Remove tenderloin if desired
Butterflying technique:
- Place breast smooth side down
- Open breast like a book, cutting parallel to cutting board
- Stop before cutting all the way through
- Open and flatten with palm
Fish Filleting Basics
Simplified approach for flat and round fish:
Round fish (salmon, trout):
- Cut behind gills to backbone
- Run knife along backbone from head to tail
- Flip and repeat on other side
- Remove pin bones with tweezers
Skinning a fillet:
- Create small flap at tail end
- Grip skin with paper towel
- Use long, smooth strokes with knife angled slightly toward skin
- Pull skin as you cut to create tension
Fruit Cutting Techniques
Fruit preparation requires specific techniques for efficiency and presentation.
Apple and Pear Techniques
Multiple methods for different uses:
Core removal:
- Quarter fruit through stem and blossom end
- Cut at angle to remove core from each quarter
- Alternative: use melon baller to remove core
Dicing technique:
- Quarter and core
- Cut quarters into planks
- Cut planks into sticks
- Cut sticks into dice
Preventing browning:
- Toss cut pieces in lemon water
- Work quickly and keep pieces covered
- Cut just before serving when possible
Citrus Supremes
Professional technique for membrane-free citrus segments:
- Cut off top and bottom of fruit
- Remove peel and pith by cutting around contour of fruit
- Hold fruit in hand over bowl
- Cut between membranes to release segments
- Squeeze remaining membrane to extract juice
Melon and Large Fruit
Efficient preparation of watermelon, cantaloupe, pineapple:
General approach:
- Create flat surface by cutting off one end
- Stand fruit on flat end for stability
- Cut downward to remove skin in strips
- Cut fruit into manageable sections
- Remove seeds/core as needed
- Slice or dice as desired
Pineapple specific:
- Cut off top and bottom
- Stand upright and cut away skin, following contour
- Cut out brown "eyes" in diagonal channels
- Quarter lengthwise through core
- Cut out core from each quarter
- Slice or dice as needed
Berry Preparation
Gentle techniques for delicate berries:
Strawberry hulling:
- Insert tip of paring knife at angle near stem
- Rotate fruit or knife to remove hull
- Alternative: use straw pushed from bottom to top
Slicing delicate berries:
- Use sharp paring knife
- Cut with gentle pressure
- Consider using egg slicer for consistent cuts
Herb Handling and Cutting
Herbs require special care to preserve flavor and appearance.
Tender Herbs vs. Woody Herbs
Different types require different approaches:
Tender herbs (parsley, cilantro, basil, mint):
- Hold by stems in bunch
- Slice leaves with rock chop
- Alternatively, use chiffonade technique for larger leaves
Woody herbs (rosemary, thyme, oregano):
- Hold top of stem with one hand
- Pull leaves against growth direction with other hand
- Mince leaves with rock chop
- For thyme, pinch stem and pull leaves off
Preserving Herb Brightness
Techniques to maintain vibrant color and flavor:
- Use very sharp knife to prevent bruising
- Cut herbs immediately before using when possible
- For advance prep, store cut herbs between damp paper towels
- Consider chiffonade or tearing for delicate herbs like basil
Garlic and Ginger
Special techniques for aromatic ingredients:
Ginger peeling:
- Scrape skin with spoon edge (less waste than knife)
- For older ginger, use paring knife
Ginger cutting:
- Slice across the grain (fibers run lengthwise)
- Stack slices and cut into matchsticks
- Cut matchsticks into mince
Ginger grating:
- Use ceramic grater or microplane for ginger paste
- Freeze ginger briefly for easier grating
Progressive Skill-Building Exercises
Improve your knife skills systematically with these practice exercises that build on each other.
Day 1-7: Foundation Skills
Exercise 1: The Paper Test
- Test knife sharpness by (carefully) slicing paper
- Practice proper sharpening until knife passes test
Exercise 2: Grip and Guide Hand
- Practice pinch grip and claw technique without cutting
- Hold properly for 30 seconds, release, repeat
Exercise 3: Rock Chop Rhythm
- Practice rock chopping motion with knife tip on board
- Focus on smooth, rhythmic motion (no food yet)
Exercise 4: Carrot Coins
- Cut carrot into rounds of consistent thickness
- Start slow, focus on uniformity not speed
Day 8-14: Basic Techniques
Exercise 5: Onion Dice Challenge
- Practice proper onion dicing technique
- Start with rough dice, progress to medium, then fine
Exercise 6: Herb Confetti
- Practice chiffonade technique with leafy herbs
- Focus on clean cuts without bruising
Exercise 7: Fruit Precision
- Dice apple into ½-inch cubes
- Progress to ¼-inch as skill improves
Exercise 8: Tomato Test
- Slice tomatoes paper-thin
- Indicates knife sharpness and technique precision
Day 15-30: Advanced Practice
Exercise 9: Brunoise Sequence
- Create julienne cuts, then progress to brunoise
- Practice with carrots, then celery (more difficult)
Exercise 10: Speed Drills
- Time yourself dicing one onion
- Practice regularly, trying to improve time while maintaining quality
Exercise 11: Consistency Challenge
- Dice three different vegetables to identical size
- Tests ability to adapt technique to different textures
Exercise 12: Mise en Place Race
- Prepare all vegetables for a stir-fry recipe
- Practice efficient workflow and consistent cutting
Common Mistakes and How to Avoid Them
Even experienced home cooks make these knife skill errors. Learn to identify and correct them.
Technique Errors
Sawing instead of slicing:
- Problem: Creates ragged edges and uneven cuts
- Solution: Use smooth forward or rock motion; let knife do the work
Improper claw position:
- Problem: Fingers exposed to blade
- Solution: Keep fingertips tucked under, use knuckles as guide
Chopping with dull knife:
- Problem: Requires more force, increases injury risk
- Solution: Learn proper sharpening or use professional service regularly
Scraping board with blade edge:
- Problem: Quickly dulls knife edge
- Solution: Use spine of knife to transfer ingredients
Workflow Issues
Crowded cutting board:
- Problem: Reduces control, slows progress
- Solution: Use larger board, clear board regularly into prep bowls
Inconsistent cuts:
- Problem: Ingredients cook at different rates
- Solution: Focus on uniformity before speed, use visual references
Wrong knife for task:
- Problem: Inefficient cutting, potential damage to knife
- Solution: Use chef's knife for most tasks, serrated for appropriate foods
Poor posture:
- Problem: Causes fatigue and less control
- Solution: Stand with good posture, position board at proper height
Learning Pitfalls
Prioritizing speed over technique:
- Problem: Develops bad habits that are hard to break
- Solution: Master proper form slowly, speed will follow
Inconsistent practice:
- Problem: Skills develop more slowly, technique suffers
- Solution: Brief daily practice is better than occasional longer sessions
Fear of sharp knives:
- Problem: Results in tentative cutting and poor control
- Solution: Understand that sharp knives used properly are safer than dull ones
Skipping fundamentals:
- Problem: Advanced techniques fail without proper foundation
- Solution: Master basic skills thoroughly before attempting complex cuts
How Flavoreer Can Help You Apply Your Knife Skills
Once you've started developing your knife skills, Flavoreer can help you put them into practice effectively.
Cutting Technique-Based Recipes
Our recipe generator offers unique features for practicing knife skills:
- Technique filter: Find recipes featuring specific cutting techniques you want to practice
- Difficulty levels: Progress from basic to advanced cutting requirements
- Mise en place guidance: Clear instructions on how to prep ingredients
- Visual references: Photos showing desired cuts for each recipe
Virtual Knife Skills Workshops
Enhance your learning with our interactive resources:
- Video tutorials: Close-up demonstrations of each technique
- Progress tracking: Upload photos of your cuts for assessment
- Technique challenges: Weekly exercises to build specific skills
- Community feedback: Share results and get tips from other learners
Knife Skill-Building Meal Plans
Practice systematically with purpose-built meal plans:
- Progressive difficulty: Each week builds on previous skills
- Technique focus: Each plan emphasizes specific cutting methods
- Efficient repetition: Strategic ingredient overlap for meaningful practice
- Shopping guidance: Lists organized for optimal practice
Equipment Recommendations
Get personalized advice on knives and accessories:
- Knife selector tool: Find the right knife for your hand size and needs
- Sharpening guidance: Tutorials for different sharpening methods
- Cutting board recommendations: Options for different budgets and uses
- Storage solutions: Best practices for maintaining your knives
With Flavoreer's resources, you can turn your growing knife skills into delicious meals while continuing to improve your technique!